VisualGuideToInstallingStendhalStep2: Difference between revisions
imported>Kymara m fix link |
imported>Kymara m fix link |
(No difference)
| |
Revision as of 23:10, 3 January 2010
Step 2. Create a MySQL database
Start MySQL command line client:
![]()
![]()
at Enter password: prompt, enter root password chosen at the previous step (root if you have followed indications)

Note: if MySQL client closes before or after entering root password at Enter password: prompt that can mean three things:
- That MySQL service is not running in the background. Go to services and start it as explained in Step 6.
- That you entered a bad root password. Run the client again and type it right.
- That you have not set a root account successfully (type just enter to test and it should prompt you with mysql>).
- In thiscase you need to:
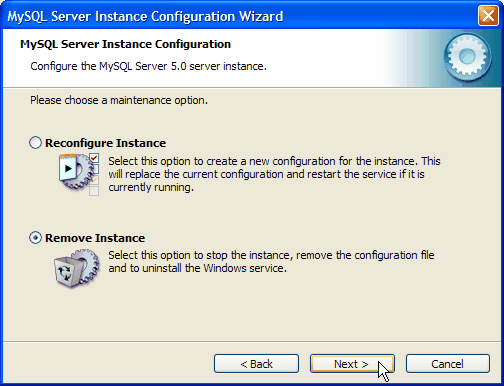
- Run the MySQL server instance config wizard from the MySQL group menu:


- Choose Remove Instance and click Next
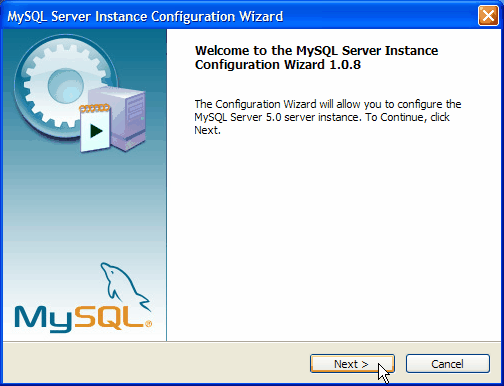
- Run the MySQL server instance config wizard again from the MySQL group menu:
- and repeat Step 1.2 from the beginning (close your firewall this time before clicking on execute)
- Run the MySQL server instance config wizard from the MySQL group menu:
- In thiscase you need to:


Otherwise, you have entered successfully and you should now me welcomed to MySQL.
At prompt copy from here:
create database marauroa;
and USE your mouse and right-click anywhere inside the window and choose paste.

Then press enter

Copy again from here:
grant all on marauroa.* to stendhal_user@localhost identified by 'stendhal_passwd';
and USE your mouse and right-click anywhere inside the window and choose paste. Then press enter
Note: With the previous statement you are granting total access to the database named marauroa to the user named stendhal_user with the password stendhal_passwd. Remember to use this same username and password when configuring marauroa at step 4.

type quit or exit (to quit or exit the command line client :P) or copy from here:
quit
Then press enter and the window will close.
Go to Step 4. Install stendhal server
Step 3 is no longer needed - one used to install marauroa there, but now marauroa is included as a pre built jar in the stendhal server distribution.)
Back to Visual Installation Guide Step-By-Step
Back to stendhal main wiki page